Category: Cross Stitch for Beginners

Cross stitch for beginners, explained by two stitchers with over 40 years between us. Start here for fabric, floss, needles, reading a chart and working out your first project.

  • Cross Stitch Curious? Your Guide to Starting & Loving Cross Stitch for Beginners

    Cross Stitch Curious? Your Guide to Starting & Loving Cross Stitch for Beginners

    Cross stitch is often described as simple, but when you’re new to it, the number of small decisions you have to make to get started as a cross stitch beginner can feel surprisingly confusing.

    If you’re looking for a clear introduction to cross stitch for beginners, this post brings the basics together in one place. It explains what cross stitch involves, how the main pieces fit together, and where to go next without needing to learn everything at once.

    Cross stitch is not complicated, but it does help to understand the structure before you begin.

    What Cross Stitch Actually Is

    Cross stitch is a form of counted embroidery. You follow a charted pattern and create small X-shaped stitches on an evenly spaced fabric. Each stitch sits in a square, and over time those stitches form an image. You probably already know this, right – that’s why you’re here, looking for more.

    Every cross stitch project is built from the same core elements:

    • Fabric, most commonly Aida for beginners
    • Thread (more usually called floss), usually cotton embroidery floss
    • A needle, typically a tapestry needle
    • A pattern or chart, which shows where each stitch goes
    • A hoop or frame, to keep the fabric steady while you work

    Once you understand how these parts work together, cross stitch becomes much easier to approach.

    How to Use This Beginner Guide

    Rather than overwhelming you with instructions, we’ve organised our beginner content into a simple progression. You can move through it in order or dip into what you need most right now.

    The posts focus on orientation. They explain how cross stitch works and help you make early choices that support you being successful with your projects, no matter how experienced you are.
    beginners guide to cross stich

    Choosing Your First Cross Stitch Project
    How to select a pattern that feels achievable and enjoyable, without overcomplicating your first project.
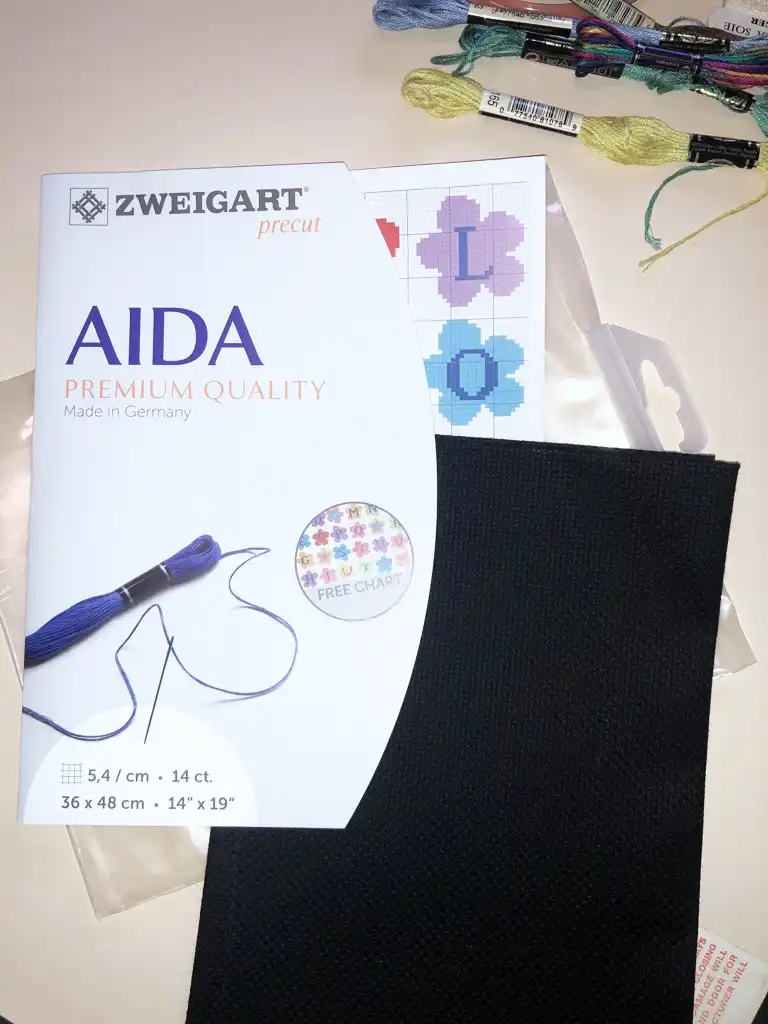
    Packet of Zweigart black Aida fabric with embroidery floss

    Beginner’s Guide to Aida Fabric
    What Aida fabric is, how fabric count works, and how to choose the right size and color.

    Inside a cross stitched needle case showing its fabric pages

    What needle to use for cross stitch
    Which type of needle (tapestry needle) works best with cross stitch fabric, why sharp needles don’t, and how to choose the right needle size for different Aida counts.
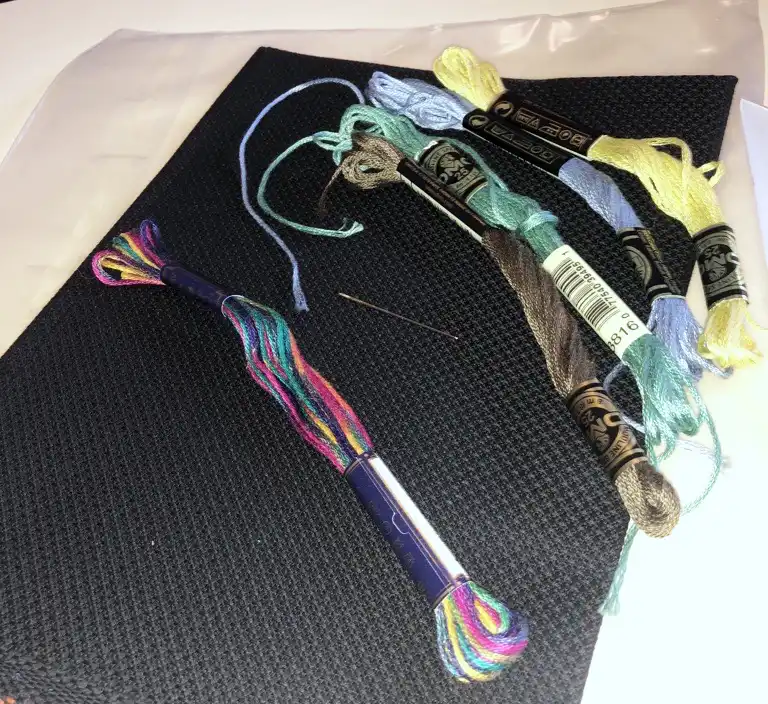
    beginners guide to cross stitch fabric

    Setting up your fabric for cross stitch
    How to cut your fabric with enough margin, finish the edges to prevent fraying, find the right side and center point, and get your fabric in a hoop so you’re ready to start stitching.
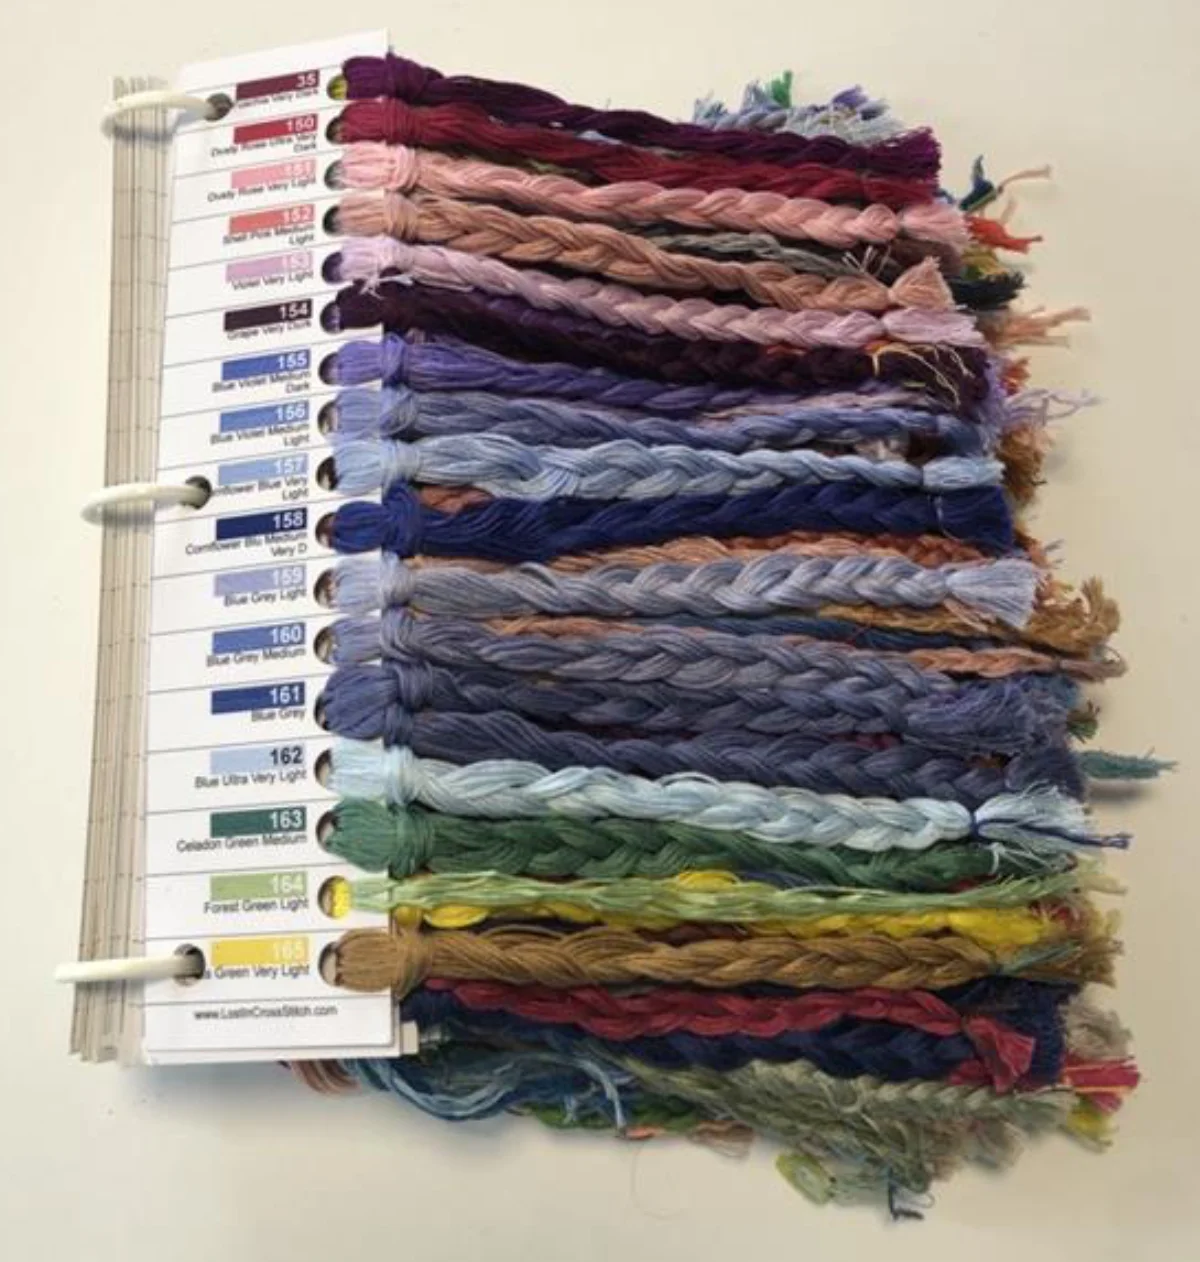
    beginners guide to cross stitch thread

    All About Cross Stitch Thread

    A beginner-friendly guide to the most common types of cross stitch thread, including stranded cotton, pearl and specialty threads, plus tips on thread quality, brands, and how to prepare and handle your floss.
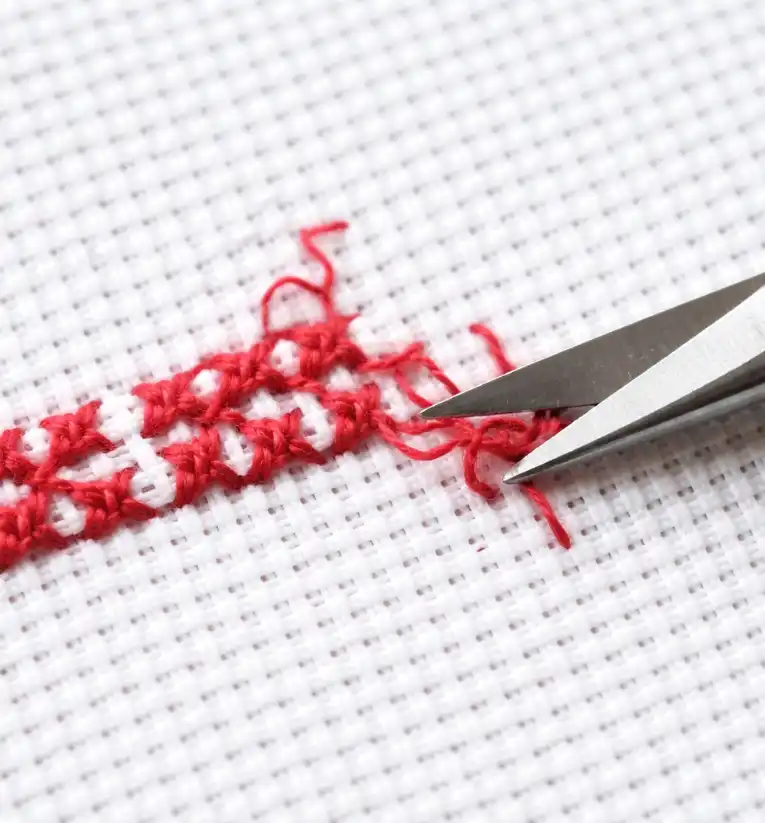
    Unpicking red cross stitches from Aida fabric with tweezers

    Cross Stitch Terms and Abbreviations

    A beginner-friendly glossary of common cross stitch terms and abbreviations, techniques and tools you’ll see in patterns and stitching communities, explained in plain language.
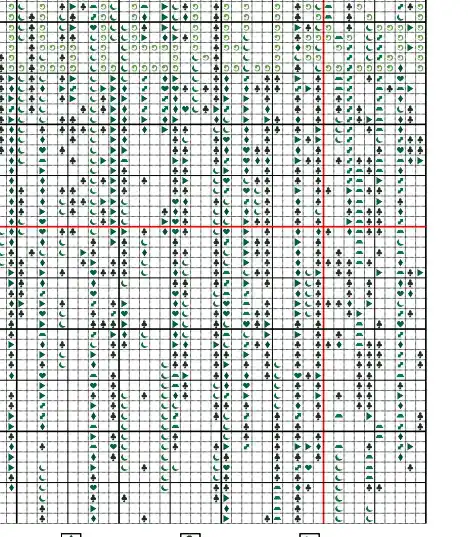
    Cross stitch chart with the centre lines marked

    How To Read Cross Stitch Charts and Keys

    How to read cross stitch charts and color keys, including symbols, strand counts, finished size, and simple ways to keep track as you stitch.

    Gridding Cross Stitch Fabric

    Pros and Cons of Gridding Cross Stitch Fabric

    What gridding is, how to grid your fabric with thread or marker, and whether it’s worth it.
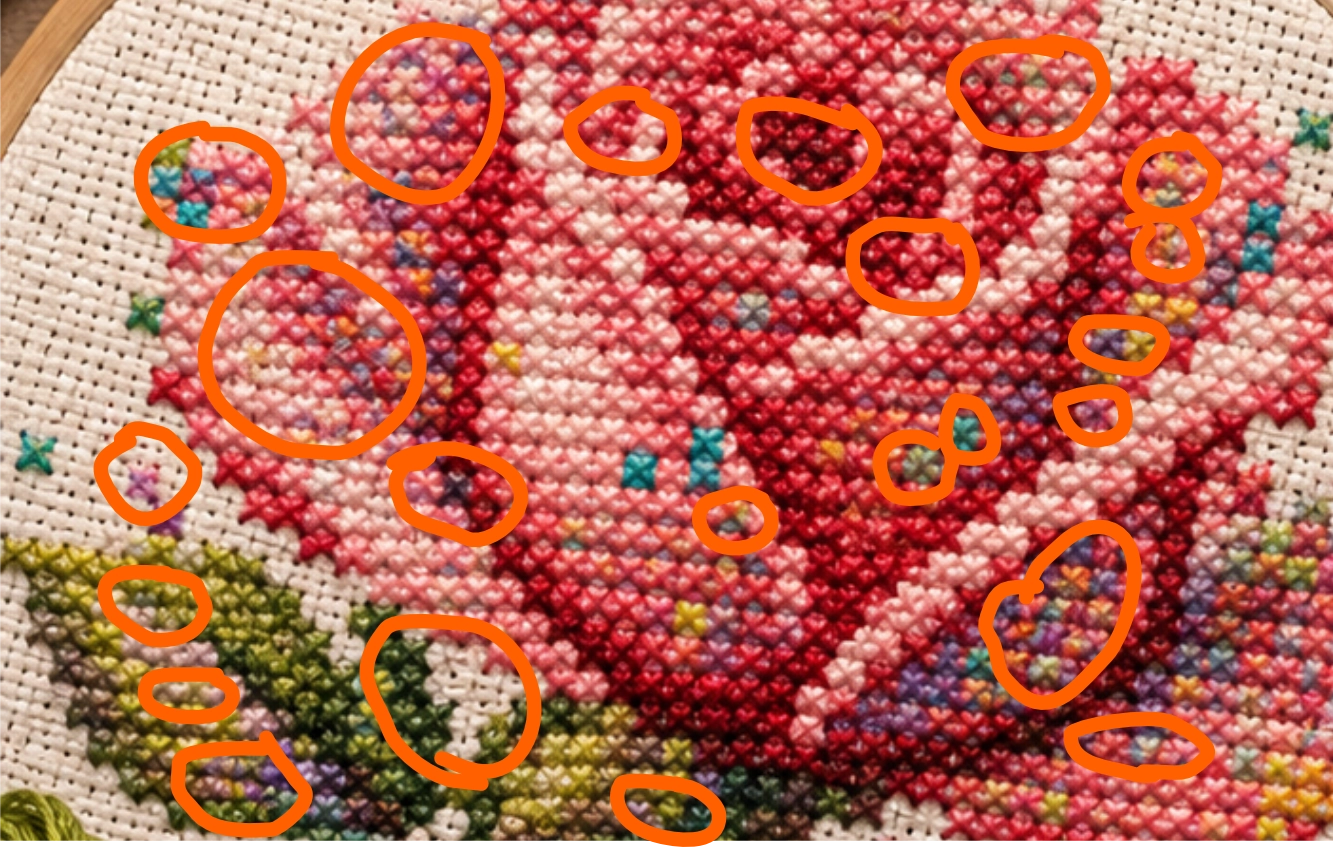
    can you spot the fake cross stitch pattern.
    Just some of the odd blending and stitch forms in this image. It looks real but when you zoom in….

    9 Ways to Spot a Fake Pattern (AI generated)

    This is a new concern but one you should absolutely be aware of, early! This post includes a free checklist that you can print to remind yourself.
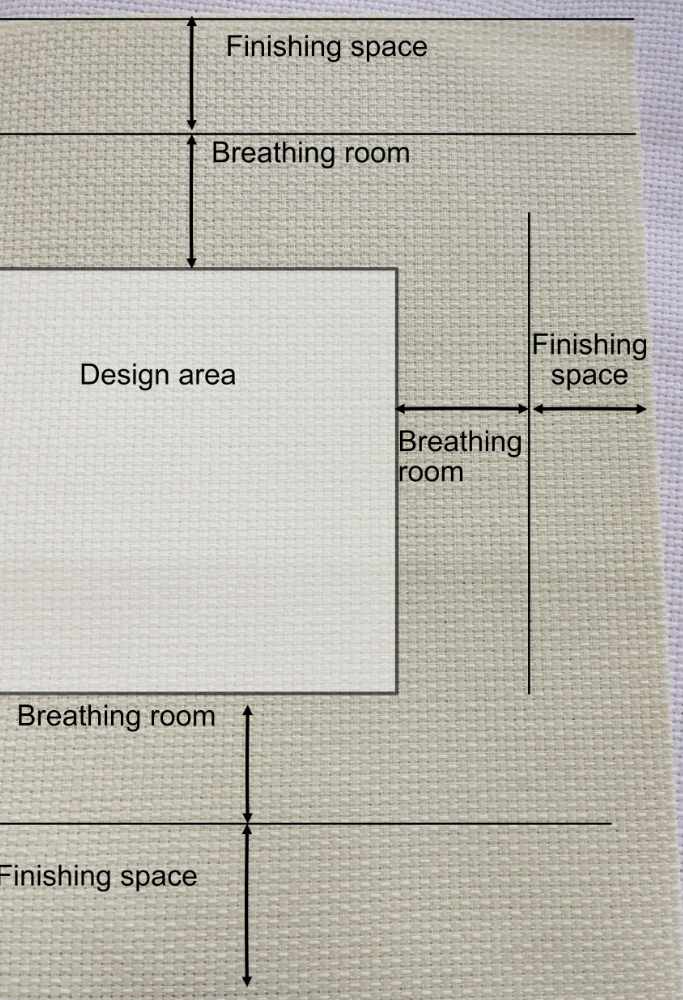
    Diagram showing cross stitch fabric layout with design area in centre, breathing room around it, and finishing space at the outer edges

    How to Calculate Cross Stitch Fabric Size

    The formula for working out how much fabric you need, why margins matter more than you might think, and a quick reference for common sizes.

    Different sizes and colors of Aida cloth

    Choosing Evenweave Fabrics for Cross Stitch

    What Lugana, linen and other evenweave fabrics are, how they compare on cost, and when you might choose one over Aida.

    Black Aida fabric with skeins of embroidery floss

    3 Tips for Stitching on Black Aida

    How to make stitching on black Aida easier, so you can enjoy the way it makes colours stand out.

    Budget cross stitch tips: using a magnet board

    Made a Cross Stitch Mistake? Here’s What to Do Next

    How to decide whether a mistake is worth fixing, what you can leave, and how to avoid repeating it.
    Embroidery hoop with rainbow floss

    Frogging Cross Stitch: When and How to Do It

    When it is worth unpicking your stitches, and how to do it safely without damaging your fabric.
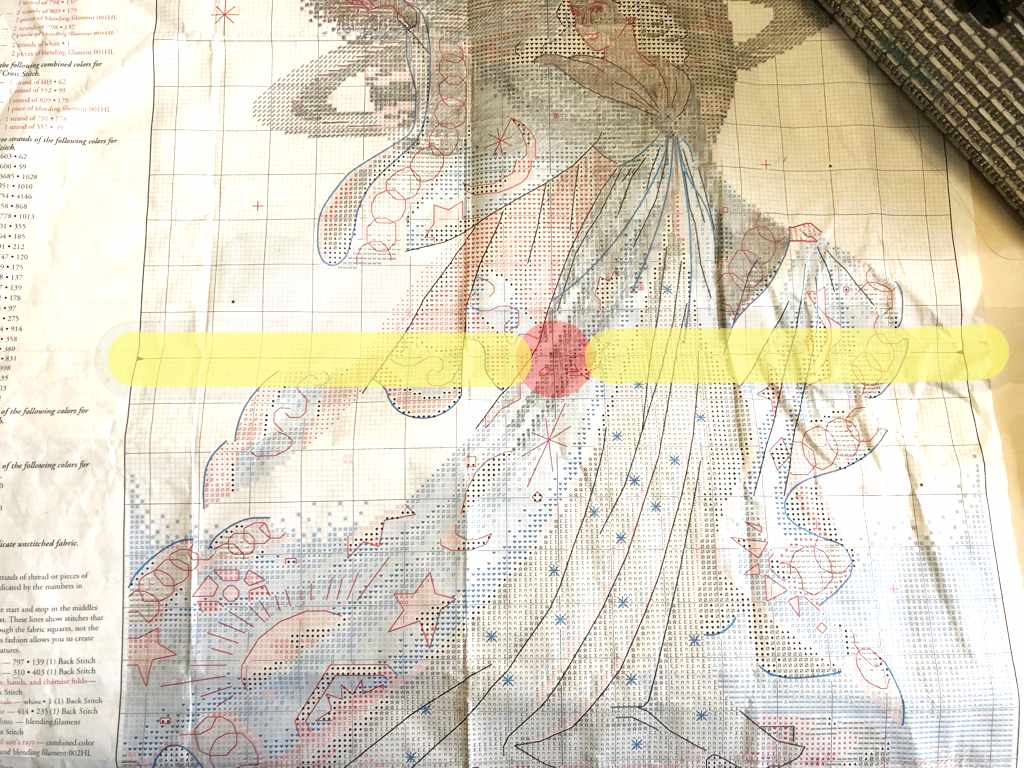
    Cross stitch chart with the centre lines highlighted in yellow

    Cross Stitch Patterns for Beginners

    Everything about patterns in one place: choosing one, spotting a fake, reading the chart, printing or using a tablet, and keeping track as you stitch.

    Where to Start

    If you’re completely new to cross stitch, begin with Choosing Your First Cross Stitch Project and the Beginner’s Guide to Aida Fabric. Those two posts will give you enough context to start without second-guessing every decision.

    From there, you can explore the rest of the beginner content at your own pace.

    Cross stitch is a skill you grow into. There’s no need to rush it.
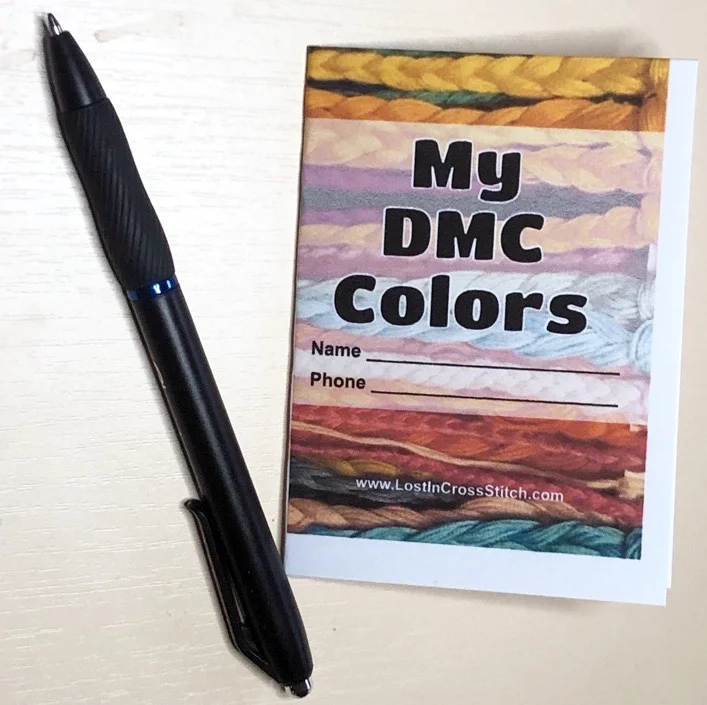
    final bw mini book

    Stop Buying Duplicate DMC Floss

    This printable mini-book is a pocket-sized DMC inventory you can carry in your project bag. Mark what you own and what you still need, then check it at a glance in the shop, no more scrolling through notes on your phone. Trusted by hundreds of stitchers (and counting!) Instant download, print as many copies as you like.

  • A Guide to Using Our Free Printable Cross Stitch Ruler

    A Guide to Using Our Free Printable Cross Stitch Ruler

    If you’ve got mystery fabric in your stash and you’re trying to work out whether it’s 14 ct, 16 ct, 18 ct, or something else, a printable cross stitch ruler makes it quick.

    Get the free printable Aida ruler

    You can grab the printable ruler here: Free Aida ruler (A4 + US Letter).

    Why this helps

    The count of your fabric completely controls the finished size of your project. Guess wrong and you can end up with a piece that does not fit the frame, hoop, or space you had in mind.

    You can measure fabric count with a normal ruler and pins, but it’s fiddly and easy to second-guess.

    A printable ruler is useful because you do not need pins, tape, or careful measuring. You just line it up and check whether the grid matches.

    Before you start

    • Print at 100% scale (do not “fit to page”)
    • Printing in black is fine
    • A flat fabric edge or fold makes it easier to line up your fabric with the ruler

    Why Didn’t I Put a Label On It?

    While labeling fabric sounds like a solution, let’s be real – who does it?

    Plus, labels can damage fabric (rusty pin, anyone?) or fall off.

    That’s why our handy, free printable cross stitch ruler can really save time and your eyes.

    Get a free printable Aida ruler

    Why You Need an Aida Ruler

    My stash is full of mystery small aida and evenweave pieces that I’ll use ‘one day’. This ruler keeps me from guessing the fabric count wrong (again).

    You can find the size of your fabric easily enough without the ruler:

    1. Use an imperial (inch) ruler or measuring tape – Aida is produced in inch counts, so a cm ruler will complicate the issue.
    2. Measure 1 inch: Align it parallel to the grid. Put a pin to mark the beginning of the inch and another to mark the end of the inch.
    How to measure the count of your Aida cloth
    How to measure the count of your Aida cloth – pin an inch

    Count the squares. Carefully. Probably twice.

    The count matters if you’re trying to decide between 14 and 16, or 16 and 18.

    How to measure the count of your Aida cloth
    How to measure the count of your Aida cloth – count carefully

    And finally label your fabric so you know for future.

    Who am I kidding? I”m much more likely to grab the piece I need and head for my stitching station on my sofa!

    How the Aida ruler simplifies the process

    With the Aida Ruler you don’t need:

    • a measuring tape or a ruler
    • pins
    • to squint. Much.

    Here’s how to find your fabric count with the Aida ruler:

    1. Print it out – we give you one PDF sized to print on US Letter size paper and one to print on International A4. Printing in black is fine.
    2. line up an edge or a fold of your fabric on the 11ct ruler.
    How to use an Aida ruler
    11ct fabric

    Do the lines on the ruler match the lines on the squares?

    > Yes – your fabric is 11ct. Do a happy dance and get that project started.

    > No – line up that same edge with the 14CT ruler.

    How to use an Aida ruler
    14ct aida

    Do the lines on the ruler match the lines on the fabric squares?

    > Yes – your fabric is 14 ct. Stitch on!

    > No – line up that same edge with the 16ct ruler.

    How to use an Aida ruler
    16 ct Aida

    Do the lines on the ruler match the lines on the fabric squares?

    > Yes – your fabric is 16 ct.

    Uh no – looks like my sample is 14. I was sure it was 16!

    Good thing I checked or the finished piece wouldn’t have fitted the frame I had in mind!

    For good measure, here’s the same sample fabric with the other two rulers on the printable:

    How to use an Aida ruler
    18 ct on the ruler – the blocks don’t match.
    How to use an Aida ruler
    22ct on the Ruler

    So you can quickly see what count your fabric is, hardly any squinting required!

    A quick reality check

    If you’re stuck between two counts, test the two closest options back-to-back. Most of the time one will clearly sit better across the grid.

    Also, it’s normal to be surprised. It’s easy to convince yourself something is 16 ct when it’s actually 14 ct. Better to find out now than after you’ve stitched half a page.

    How to make the ruler last

    You probably don’t want to print it every time you need it.

    • Laminate it if you want a durable, reusable ruler.
    • Cover it with clear contact if laminating is not an option.
    • If you want it to feel sturdier, print onto light card or place light card behind it before laminating.
    • Store it flat so it doesn’t curl.

    If you’d like your own free printable Aida Ruler, you can get it on this page.

Browse by topic