
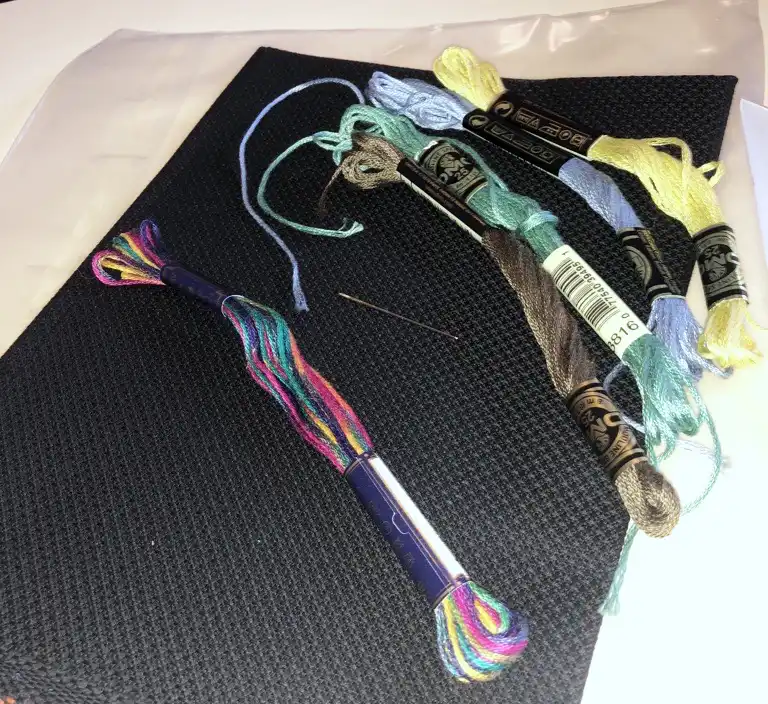
This guide covers the essentials of setting up fabric for cross stitch, including cutting fabric to size, finishing the edges, finding the center of the design, and hooping the fabric so it is ready to stitch.
Before you start stitching, it pays to set your fabric up properly. A few basic steps at the beginning can prevent fraying, help you place the design accurately, and avoid running out of space partway through a project.
It really is as simple as taking it out of the package and stabbing it with your threaded needle. After you’ve checked off the following.
Common Beginner Fabric Setup Mistakes
A few setup mistakes can make cross stitch harder than it needs to be. You’ll find solutions to these mistakes in the post, below.
- Cutting fabric too small
Leaving no margin around the design can make finishing impossible and may force you to abandon the project. - Skipping edge finishing
Unfinished edges fray over time and reduce the usable fabric area. - Starting without finding the center
This increases the risk of the design drifting off one side of the fabric. - Overstretching the fabric in the hoop
This can distort the fabric holes and affect stitch tension. - Assuming setup does not matter
Small setup steps have a big impact on how smoothly the project goes.
Prepare Your Fabric
Cut to size and allow for margins.
Cross stitch designs are not meant to sit right at the edge of the fabric. You need extra fabric on all sides for handling, hooping, framing, or other finishing later. Once stitching is underway, that space cannot be added back.
As a general rule, allow at least 2 to 3 inches (5 to 7 cm) of extra fabric on each side of the design. If you’re not sure, go larger.
Wasting a bit of fabric (even though it’s pricey) is much, much, much better than having too little. Believe me, the pain of that is never worth saving a few inches of fabric.
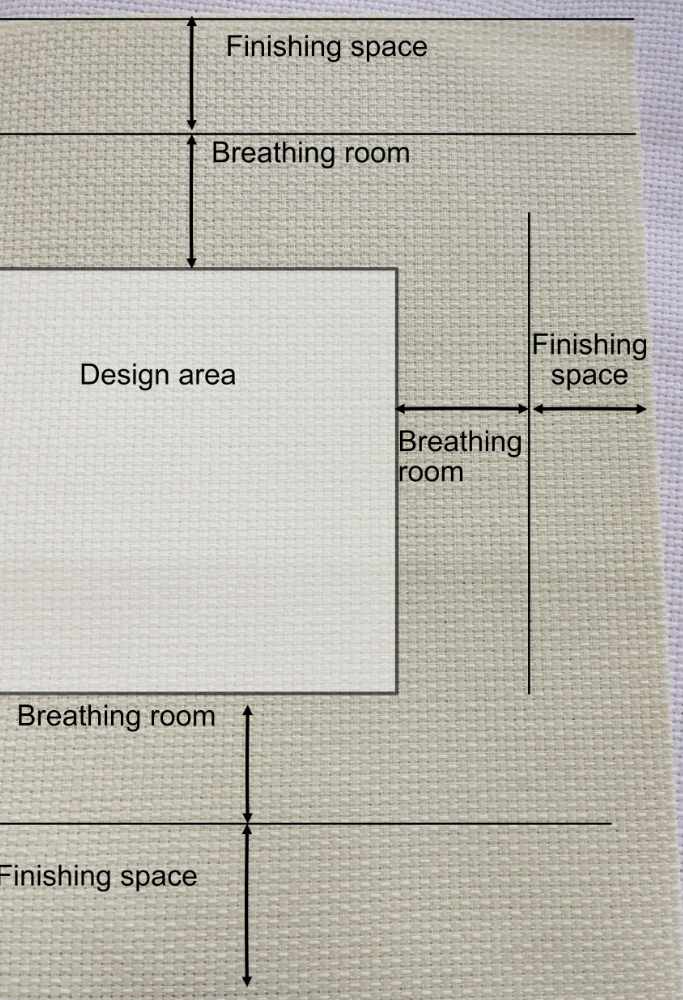
Most patterns list the finished stitch size of the design. Use that measurement as your starting point, then add your margin on all sides. If the design technically fits on the fabric but leaves very little space around the edges, always use a larger piece.
Running out of fabric late in a project usually means the hours already stitched are lost. Planning fabric size carefully at the start avoids that risk.
Prevent Fraying
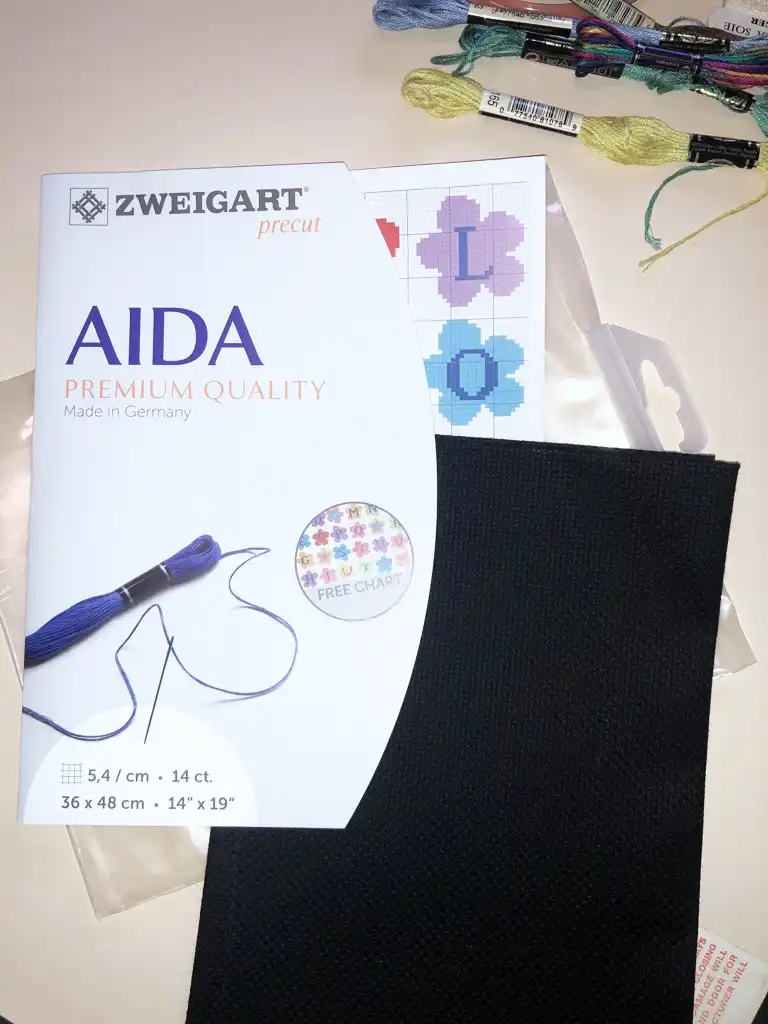
You need to hem the edge of the fabric somehow because you’ll be handling it a lot! Threads start to come out and then you’ve got pokies that will catch on your embroidery floss. That’s just annoying.
And, the longer you take to finish your project, the more the edges will fray and you’ll end up with a smaller useable piece. That’s a problem if your design is only just fitting on to the fabric – no edges to wrap around a backing board or hoop.

We overlock (serge) the edges because that’s easy for us. A running stitch hem is fine too, or zig zag. Or even a hand-stitched hem or overlock.
Some people use masking tape and that works for them. Personally I’m always worried that the glue will stay on the fabric and cause issues (no idea what kind of issues 😊) so overlocking it is for me!
Pre-Wash (Optional)
Some stitchers prefer to pre-wash their fabric to prevent color bleeding and to soften it.
We usually skip this step and do a gentle hand wash after stitching instead, to remove any body oils that could stain the fabric over time.
Setting Up Fabric for Your Project
Find The Right Side
Technically there is a right side and a wrong side to Aida cloth, but it’s very subtle.
Run your fingers across the fabric – one side will feel a little scratchy. That’s the wrong side. So the slightly smoother side is the ‘right’ side.
Honestly there’s not that much difference, so pick a side and get started.
Just keep using the same side as the ‘right’ side, and you’ll be fine!
Find the Center
Fold your fabric to find the center point for your first stitch. Most patterns recommend you start in the middle so that you don’t run out of space on one side. No one wants to frog all their stitches!
Most patterns have lines that show where the middle is. I’ve marked the pattern below with a yellow dot – yours won’t have a yellow dot but it will have the intersecting lines.
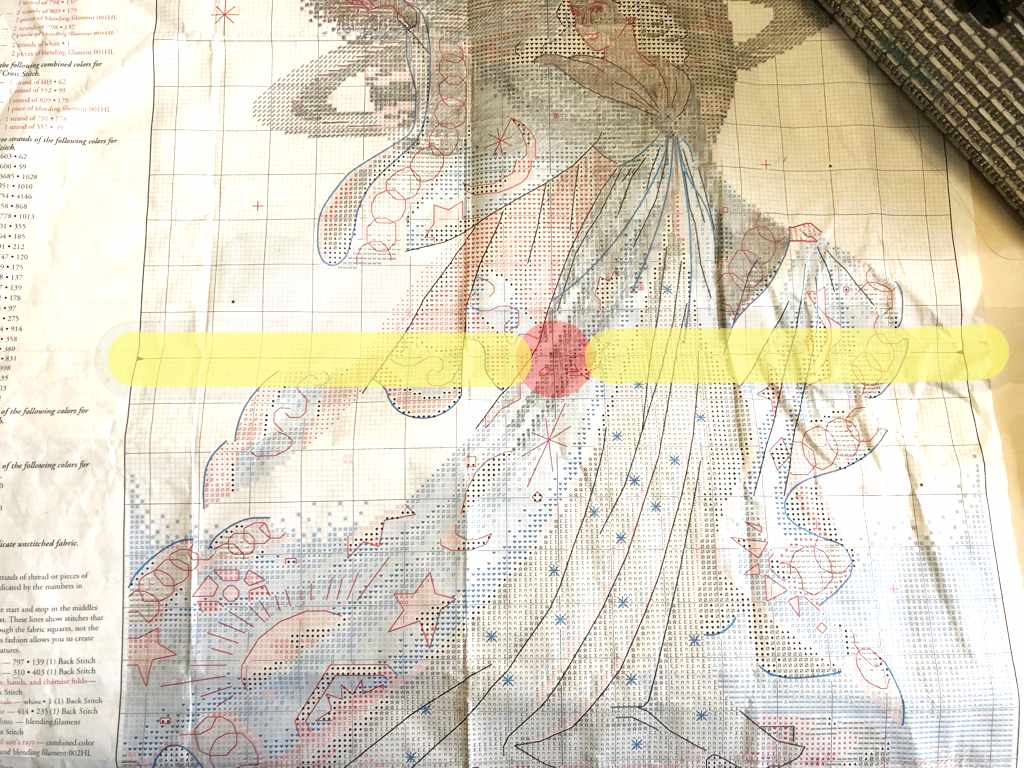
A work-in-progress chart of mine, above. I’ve highlighted the center marks added by the designer.
Some people prefer to start at the top left of the design. It’s really your choice.
Like everything in cross stitch, there’s no one right way to do anything.
Hooping Up
If you’re using an embroidery hoop or frame, attach your fabric to it. Make sure the center of the fabric is close to the center of the hoop or frame (if you’re starting in the center).
Tighten the hoop enough to keep the fabric taut while stitching, but avoid pulling it so tight that the holes distort.
Then – you’ll be ready to start that first stitch!
Taking a few minutes to prepare the fabric properly prevents many of these problems.
What to Look at Next
Now that your fabric is prepared and ready to stitch, you might like to:
- Make sure you’re using the right needle for cross stitch, based on your fabric count
- Go back to the Beginner’s Guide to Cross Stitch for a clear overview of tools, fabric, thread, and how everything fits together
- Or, if you’re ready to begin, choose your first cross stitch project with confidence



Leave a Reply