
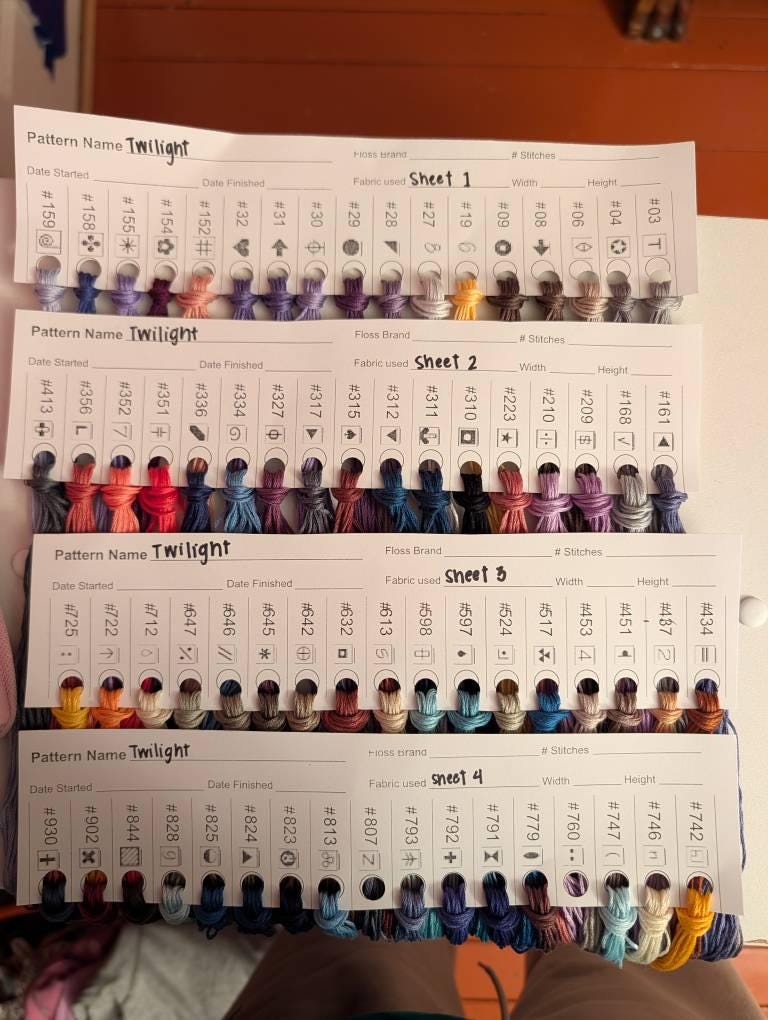
A full coverage cross stitch with 132 thread colours is a lot to keep straight before you’ve put in a single stitch. Sara, one of our customers, worked out a way to set up her floss cards in Canva, and it’s so clever we asked if we could share it.
It started with a review. Sara left one on our project cards and mentioned, almost in passing, that she’d uploaded the PDF to Canva and filled in all her thread numbers and chart symbols there. We use Canva every week. It had never once occurred to us to do that.
So we got in touch, and she very kindly wrote up her whole process. Here’s Sara, in her own words:
I’m Sara from Ohio! Brand new to cross stitching but incredibly familiar with needing things just so.
Just like I’m a mood reader, I’m a mood crafter. Additionally, I am a planner.
Ten colours by hand, 132 colours not so much
Sara’s first project was a full coverage Christmas stocking for her daughter. It used ten colours, so she wrote the DMC numbers on her cards by hand and drew the chart symbols beside them. In her words, she’s “not an artist”, and the symbols showed it.
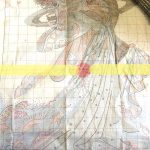
Her second project, Twilight in the Wilderness, is a different beast. It has 132 colours, and every one of them has its own chart symbol.
Having 132 different symbols—some of which are the same symbol facing different directions—meant I wanted to be darn sure I had the right ones for the right thread, AND that they were legible and facing the right way.
On a large project, every extra colour is one more chance to mix two threads up.
For an overview of choosing and using patterns, see our guide to cross stitch patterns for beginners.
Setting up the cards in Canva
Sara used to develop curriculum and run workshops for high school students, so she knows Canva well. She bought our Large project floss organisation cards and went straight there. Here’s her process, step by step.
- Get the PDF into Canva. Download the PDF as usual. In Canva, go to Create, then Upload, and choose the file. Canva opens it as an editable design, with the card layout ready to fill.
- Add the thread numbers.
- On free Canva, add a text box, type your numbers and line them up with the rows on the card.
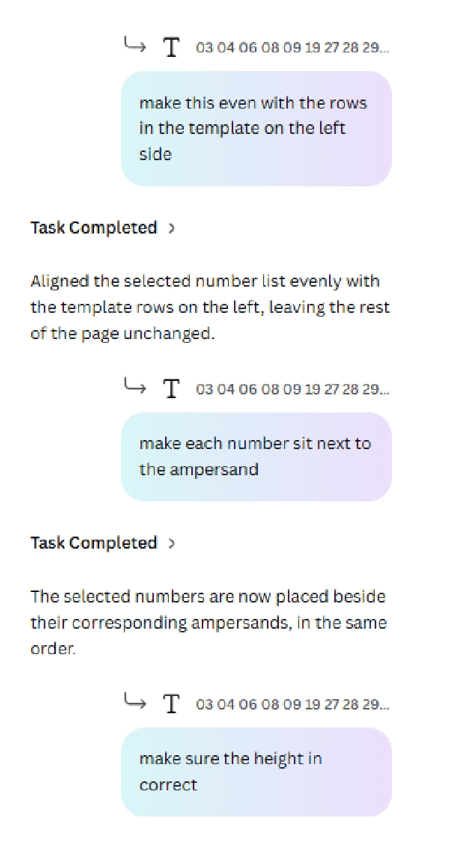
- Sara has Canva Pro, so she let its AI assistant do the lining up. She pasted in her numbers, pressing Enter after each one so they sat in a column.
- She asked the assistant to match the column to the rows on the card. It took a couple of goes to get the wording right.
- Once the first column looked right, she changed the text size and asked it to reformat to match.
- Then she duplicated that column into the next card and nudged it into place.
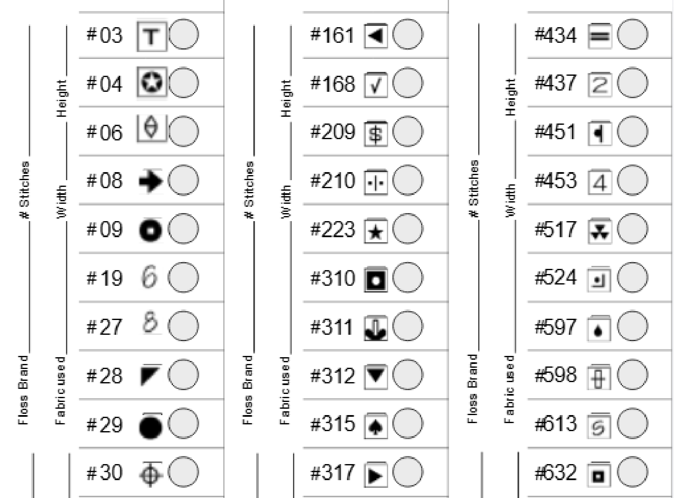
- Add the symbols. This is the clever bit.
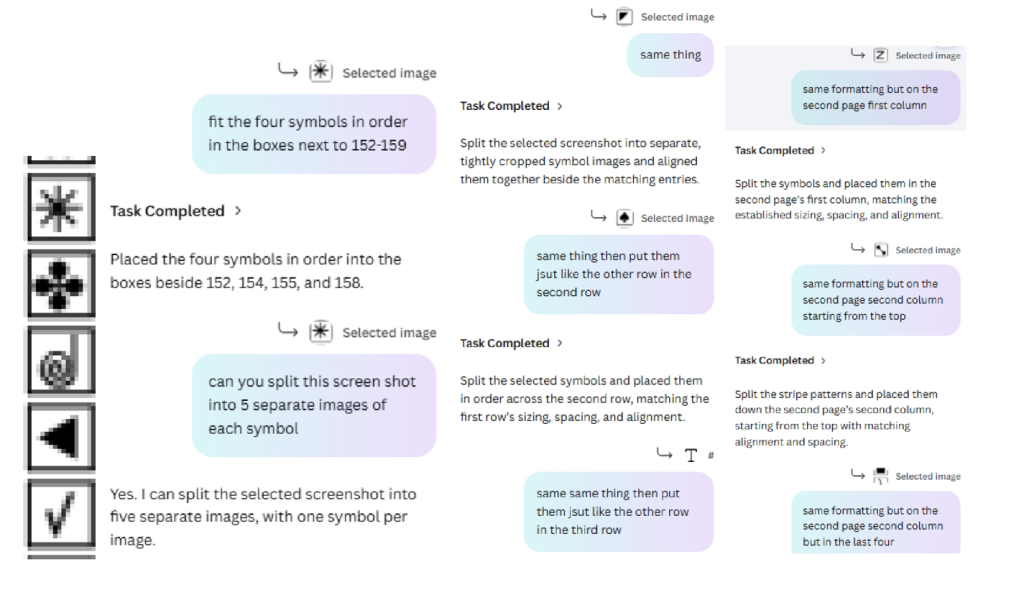
- Sara opened the chart PDF in a split window beside Canva and took a screenshot of the symbol key.
- She cropped the screenshot to the symbols for that card and pasted it into Canva.
- She asked the AI to split it into separate symbols and place them in order beside the matching thread numbers.
- Once she had a prompt that worked, she just said “same thing” for the next row, the next column and the next page. Her 132 colours filled three pages of cards.
- Without Canva Pro, crop each symbol from your screenshot and drag it into place by hand. With 132 symbols that gets tedious, but for 20 or 30 colours it’s very manageable.
- Number the cards to match the bags. Sara repurposed the “Fabric used” field on each card as a sheet number, so her cards run Sheet 1 to Sheet 8.
Every sheet has a matching zip-lock bag for its spare skeins, labelled with the same number and the range of DMC numbers inside. The other fields she left blank apart from the pattern name.
If you want to fill them in, add a text box in Canva, rotate it and drop it on the line.
THEN, when I had that prompt perfected, the rest of it was a breeze. I would just ask it to do the same thing.
Loading the cards
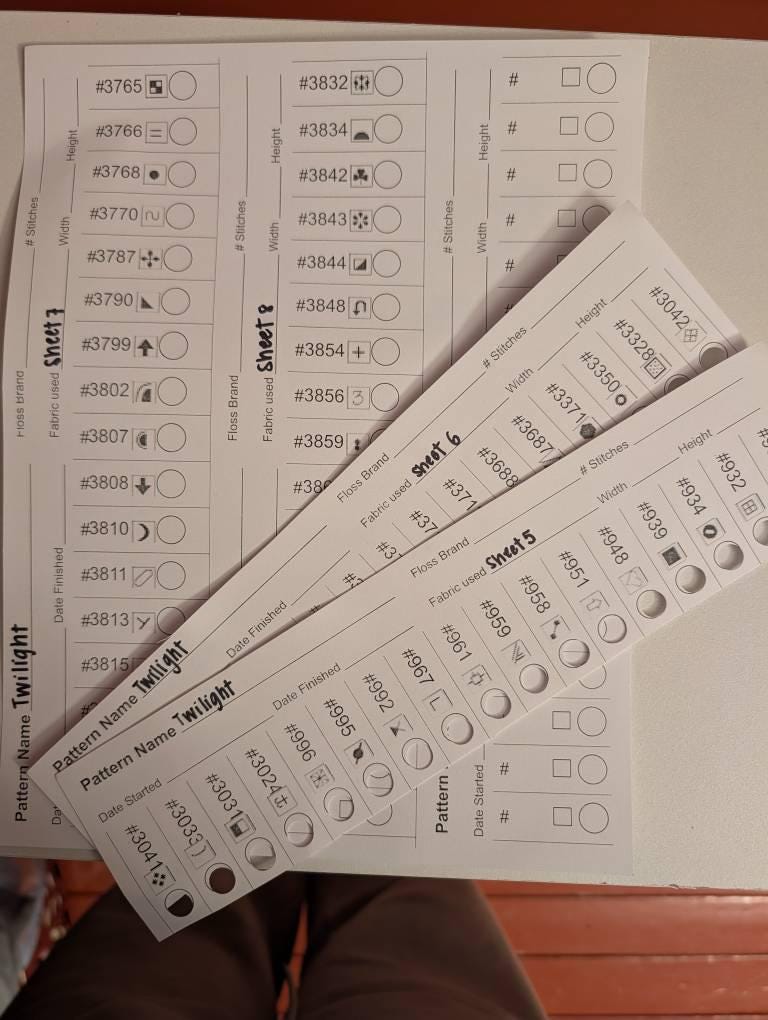
With the cards printed, Sara cut them out, punched the holes, put a show on TV, and loaded the thread.
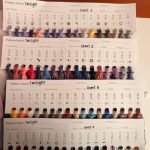
Each Large project card holds 17 colours, and there are three cards to a printed page. Sara’s 132 colours came to eight cards across three pages, with a few spare slots on the last card. If you’re working out how many you’ll need, divide your colour count by 17 and round up.
The part we’d steal straight away is her sheet bags. Sara has a zippy bag labeled with the sheet number, to hold the spare skeins for the colours on that sheet. As Sara puts it, “if you run out of thread, you just grab the bag labeled for that sheet and don’t have to dig through the collection for the whole project.”
This works neatly alongside a master system for your whole stash, like our DMC Floss Storage and Organisation System. The master cards keep track of everything you own. The project cards and sheet bags hold what you’ve pulled out for this one piece.
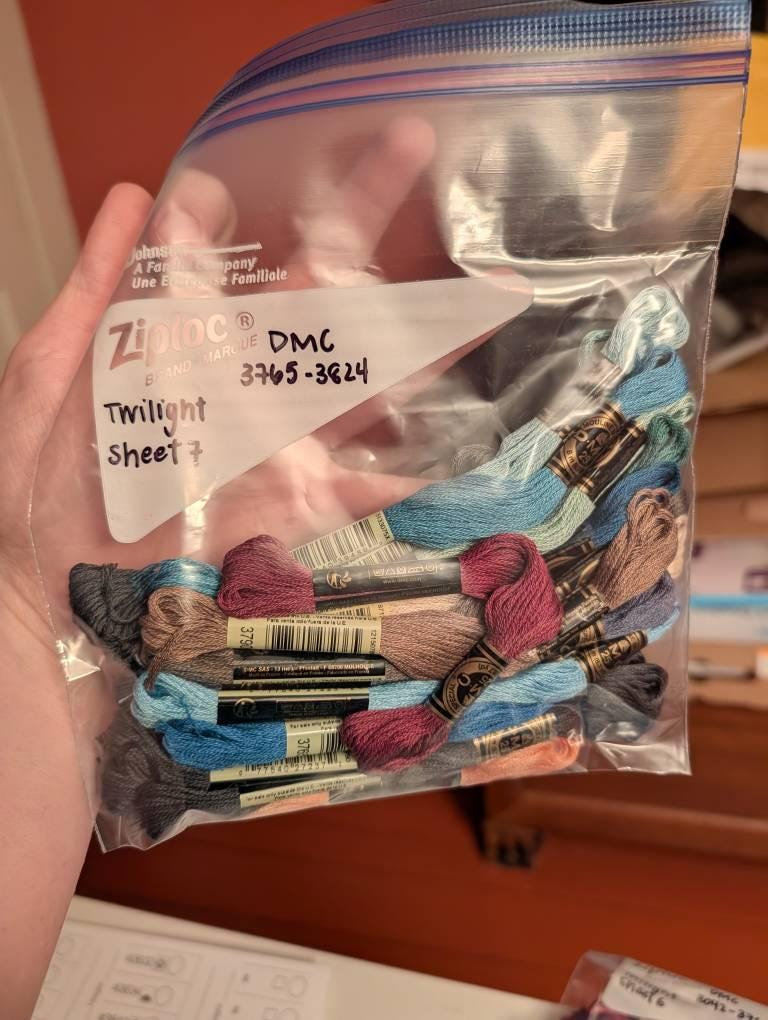
Sara hasn’t started stitching yet, but the setup has already done its job:
The organization has already improved my confidence in this because I know I’ve got the correct symbols/labels and I can easily read them.
And because the cards live in Canva, a ratty card a couple of years into the project is just a reprint.
Making cards last a multi-year project
Sara expects Twilight in the Wilderness to take years, so she wanted sturdier cards. She glued her cardstock to backing board with spray adhesive, cut the cards out, and then found her craft punch couldn’t get through it. That needs a heavy-duty handheld punch.
I didn’t want to spend $10 out of spite so I just reprinted it on cardstock and have it flimsy for now. I’m sure I’ll change my mind and do it eventually.
If you want cards that last without the backing board, the card sandwich method from our floss organiser assembly guide also works for project cards.
Sara has a nice idea for sturdy cards, too. Punch three holes along the top of each card and keep them in a project binder, with a clear sheet protector behind each card holding that sheet’s spare thread. You take out one card at a time, and its thread comes with it.
Or, you could punch the zippy bag and store it in the same spot. Or use one of those clear binder pouches with a zip closure.
Our take
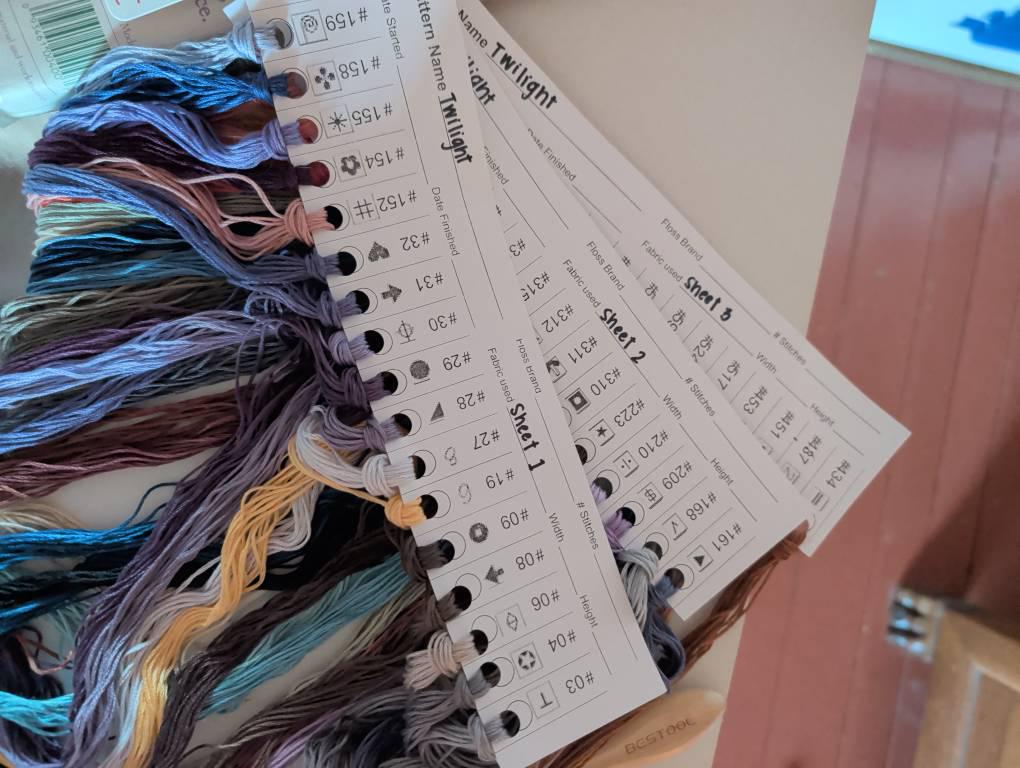
We always kit up a project before we start, and we use the cards every time. Until now, we’d only ever filled them in by hand. Sara’s method suits any project where the symbols matter, and on a full coverage piece they matter a great deal.
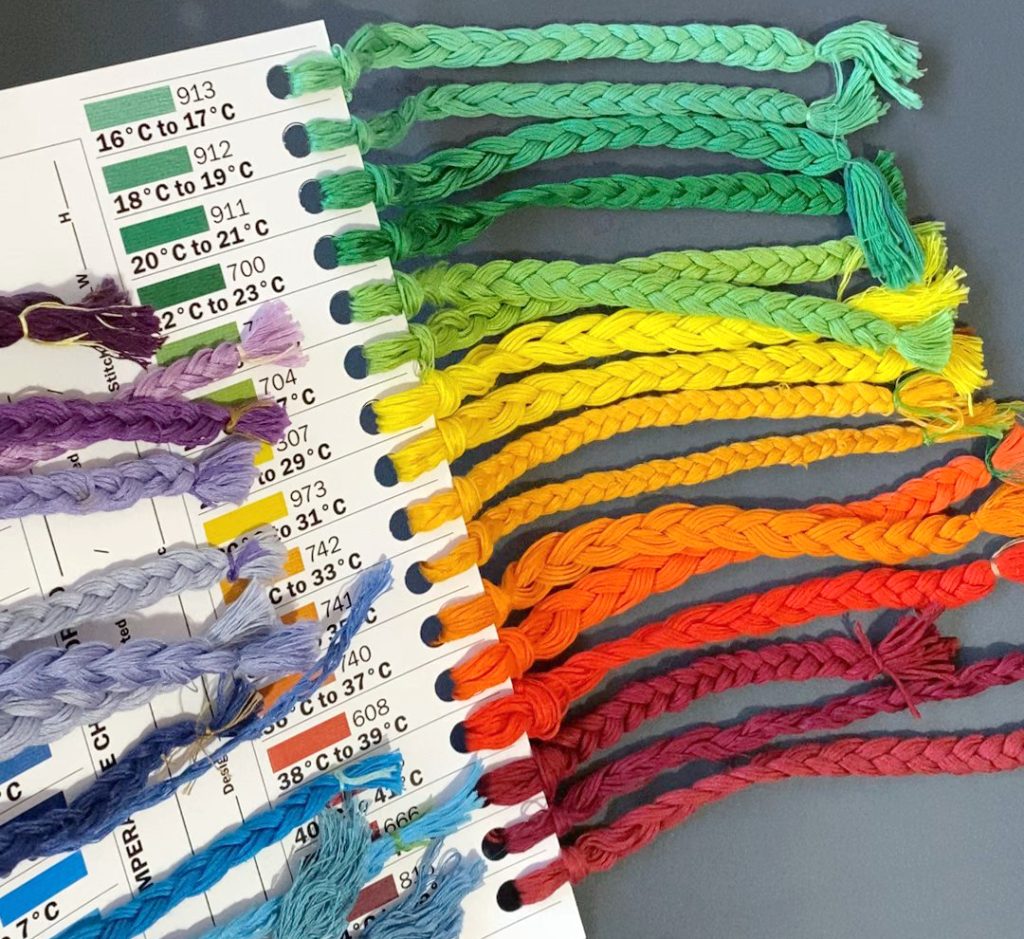
One thing we’d add: we always braid the floss once it’s looped onto the card. A loose plait stops the strands tangling and keeps the ends from getting ratty, and it still slides off easily when you want to move a colour between cards, from your master set onto a project card and back again when you’re done. Here’s floss we moved onto our Temperature Project card, straight off the master set.
Sara signed off her write-up as “Teacher/Developer meets Type A eldest daughter meets crafty mom meets you!” which is about the best summary of a cross stitcher we’ve read.
Thank you, Sara, for letting us share it.
If you’d like to try it, the cards Sara used are our Large project floss organisation cards. For the rest of the setup, see how to kit up a cross stitch project, and for organising everything else, our guide to organising embroidery floss.
Got your own trick for a big project? We’d love to hear it. Get in touch.


Leave a Reply