
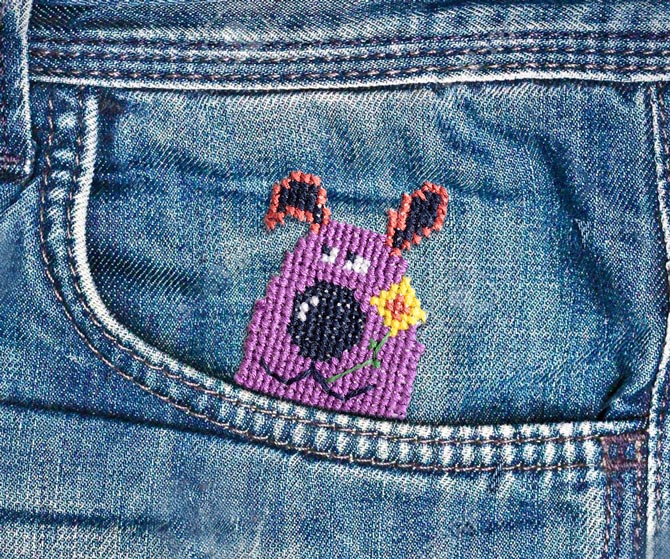
In this second part of the series on different ways to finish cross stitch, we’re looking at wearable cross stitch and cross stitch accessories: ways to finish stitching so it can be worn, carried, or used as part of everyday life.
In this post
From clothing and bags to jewelry, pins, and patches, these ideas focus on finishes that move with you rather than sitting on a wall. Decorative finishes are just one part of the bigger picture, and if you’d like a full overview of all the ways cross stitch can be finished, the main guide pulls everything together in one place.
I thought I had a handle on this topic before writing the post. Turns out, there are a lot of creative people out there. If you don’t come away with at least one new idea, let me know.
3. Personalizing Clothing with Cross Stitch
Create unique, personalized clothing pieces that showcase your creativity and style and give you a new way to finish a cross stitch and wear your craft with pride.
Choosing the Right Fabric and Thread
Choose durable fabrics like cotton or denim that can hold the stitches well and are comfortable to wear. Make sure your embroidery floss is colour fast – of course we’ll always say DMC fits the bill.
Placement and Design Ideas
Get creative with where you place your cross stitch designs on clothing, like a small motif on the pocket of a denim jacket, or a border to the hem of a t-shirt (or sleeve hem, or neckline).
Try adding a personalized monogram to a cap – not the rim, obviously – you’d need a drill to get through that thickness!
Popular design ideas include geometric patterns, botanical motifs, and quirky phrases that reflect your personality.
Finishing Techniques for Clothing Items
You will need to buy waste canvas. You sew a square of waste canvas big enough for your cross stitch onto the item of clothing you want to decorate.
When you’ve stitched your design, you remove the waste canvas – pull it out thread by thread.
Be sure that you don’t stitch through the threads of the waste canvas or you will swear – a lot – when you try to remove the canvas threads.
It is worth it though. It’s lovely and lasts for many years, especially if you finish the back of your stitches (fusible interface or fabric backing) to prevent snags and unraveling.
Turn the garment inside out before washing in cold water on a gentle cycle, to preserve the design.
4. Cross Stitch Accessories and Jewelry
You might not have thought about jewelry as a way to finish cross stitch – to be honest, nor had I until I started researching this post. But it’s pretty awesome!
You can make rings, earrings and pendants – and if you go up a tiny bit in size, charms and keychains are next!
You can create stunning accessories that stand out and experiment with high thread count fabrics (though you might need a magnifying glass!) and materials like metal mesh, wooden pre-drilled shapes and of course, plastic canvas – that can all stretch your stitching skills.
If you’re up for a challenge, or just want to try something new, this could be for you!
A Unique Cross Stitch Finish: Jewelry
Find mini motifs that will scale down to fit jewelry findings, or stitch up bands to make bracelets.
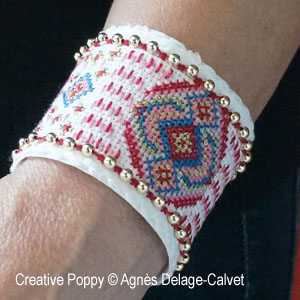
Add beads, sequins, or tiny charms to add texture and sparkle, and initials, names, or meaningful symbols to turn a simple accessory into a special keepsake.
5. Bags
Consider the size, shape, and material of the bag to ensure that it complements your cross-stitch design. A plain canvas tote or a denim backpack can provide the perfect canvas for your creative expression. Or, you can add a panel to the flap or pocket.
6. Charms, Pins and Badges
Charms, pins, and badges are all built on the same idea, take a tiny design and turn it into something you can clip, pin, or attach. They’re great for using up small motifs, and they make brilliant little gifts.
Phone charms might come and go, but bag and zipper charms never really do.
If you like the idea of key chains or rings, you can treat them as part of this category too. A keyring can be a keyring, but it can also be a charm on a backpack, tote bag, project bag, or zipper pull.
How to make them
You’ve got a few easy options, depending on what you want the finished piece to be.
1: stitch on plastic canvas or perforated paper (fast and sturdy)
- Stitch your small design.
- Trim it neatly to shape (leave a small border if you need to).
- Attach your finding:
- keyring chain or lobster clasp for a charm
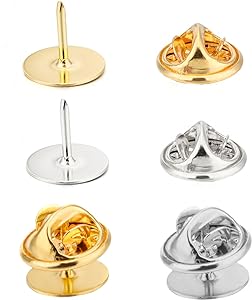
- pin back for a pin
- badge clip or reel if you’re doing something wearable
2: stitch on fabric, then mount onto a firm base (more flexible shapes)
- Stitch on fabric.
- Mount it onto a small sturdy base (card, felt, wooden disk, or acrylic blank).
- Finish the back neatly, then attach your finding (pin back, clasp, clip, chain).
Option 3: finish as a covered button (for a polished look)
If you want that tidy, “finished product” look, a covered button style finish can work beautifully. You can then use it as:
- a pin or badge
- a bag charm
- a button-style accessory
Best for
- backpacks, tote bags, and project bags
- jackets, hats, and denim (pins/badges)
- small gifts and keepsakes
- using tiny motifs from larger patterns
Worth knowing
- Keep the back neat if it will touch clothing or get handled a lot.
- If it’s going on something that gets bumped around (keys, bags), sturdy bases and sealed edges matter more than perfection.
7. Patches
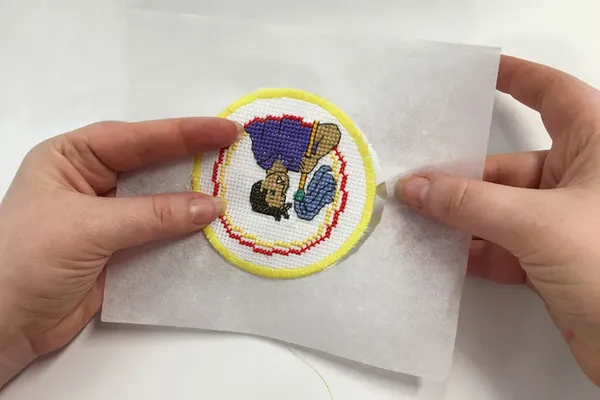
For a patch, you’d definitely only be stitching onto fabric. This technique means you’re not using waste canvas, which can be really tricky to remove.
Finish the edges well, and then sew onto a bag or item of clothing. These are probably more robust than stitching directly onto clothing. There’s a great tutorial at Gathered.
Really, the only limit here is your imagination.
And time. I don’t know about you, but there’s enough cross stitch time for me!
More To Explore
Wearable cross-stitch and accessories are a great option if you like your stitching to be used, carried, or shared rather than displayed. Whether it’s a jacket detail, a bag panel, a piece of jewelry, or a simple patch, these finishes let your stitching become part of everyday life.
Want more finishing ideas? Take a look at the full set of ideas 20 Ways to Finish Cross Stitch hub.
Or, jump directly to the section that suits your piece. If you want your finished piece to:
- Be seen often, in one spot > Wall display.
- Be seen and handled > Decor.
- Be used regularly > Wearable or functional.
- Be a fast stitch > Small and giftable.
This post is part of our series on finishing cross stitch. Start with the overview, 20 Cross Stitch Finishing Options, or go to another part: wall displays, wearable cross stitch, cross stitch decor and small projects and gifts.



Leave a Reply