

If you’re learning how to use cross stitch alphabets, the part that usually takes the most time isn’t the stitching, it’s getting the layout and spacing to look right.
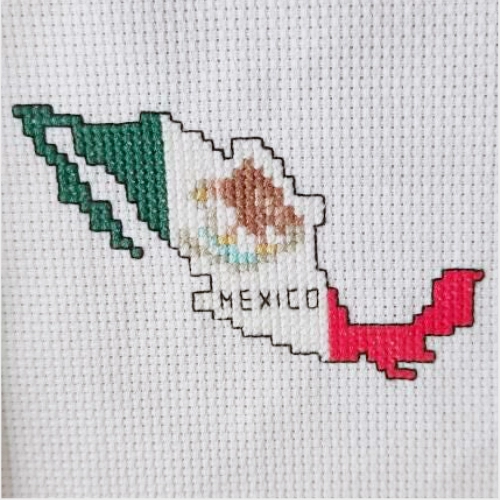
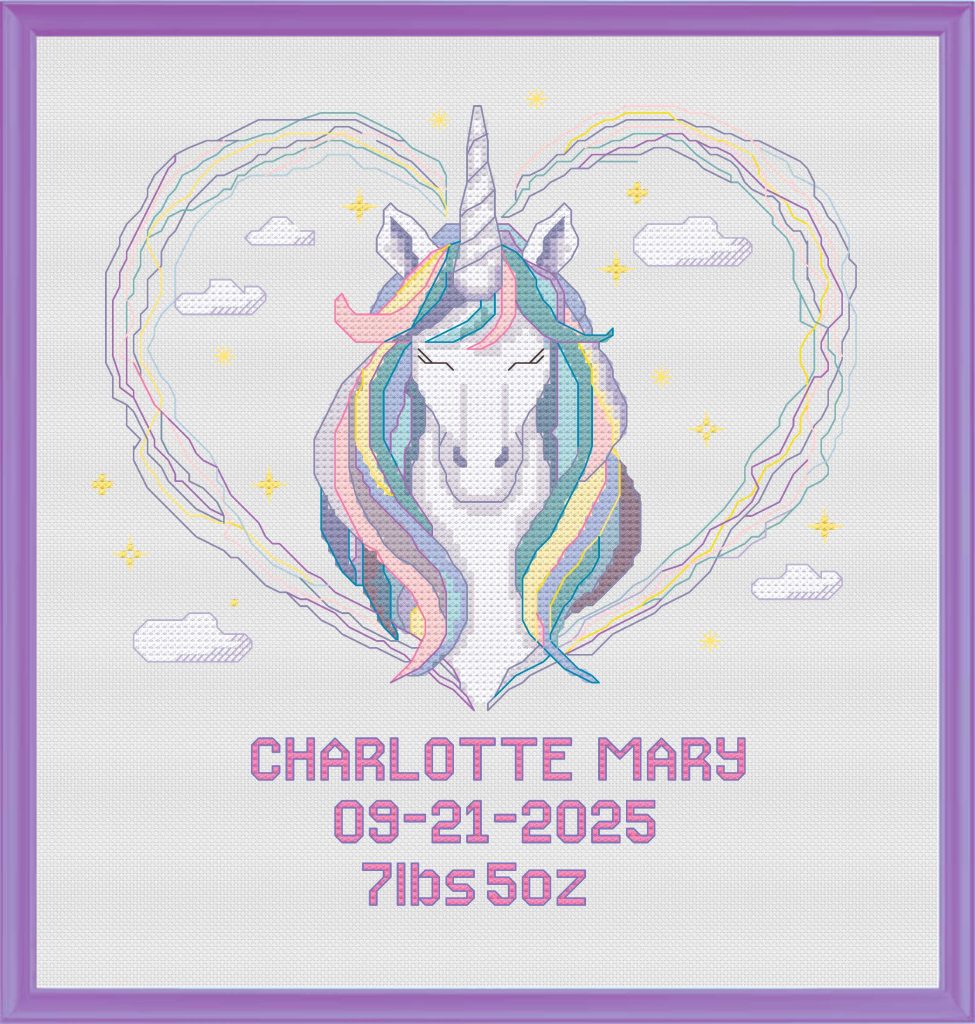
This post shows a quick paper-first method, so you can test your wording in pencil and know it will fit before you stitch. There’s also some examples of our cross stitch alphabets to help show ideas.
What’s in this post
Use cross-stitch alphabets for names, dates, and quotes
Cross-stitch alphabets are great for:
- Names on baby announcements
- Dates under a motif
- Labels for project bags and stitched gifts
- Sampler titles and short quotes
- Ornament tags and keepsakes
If you can picture where you want the words to go, an alphabet chart lets you add them without changing the rest of your design.
They’re also handy for “signing” a finished piece with initials and a year, using a tiny backstitch alphabet.
Really, you can use a cross stitch alphabet anywhere you want to personalize a project.
Our guide to cross stitch patterns for beginners has a few more ideas for changing a pattern.

What you need
You don’t need anything fancy, just a way to test your layout before you commit to stitches.
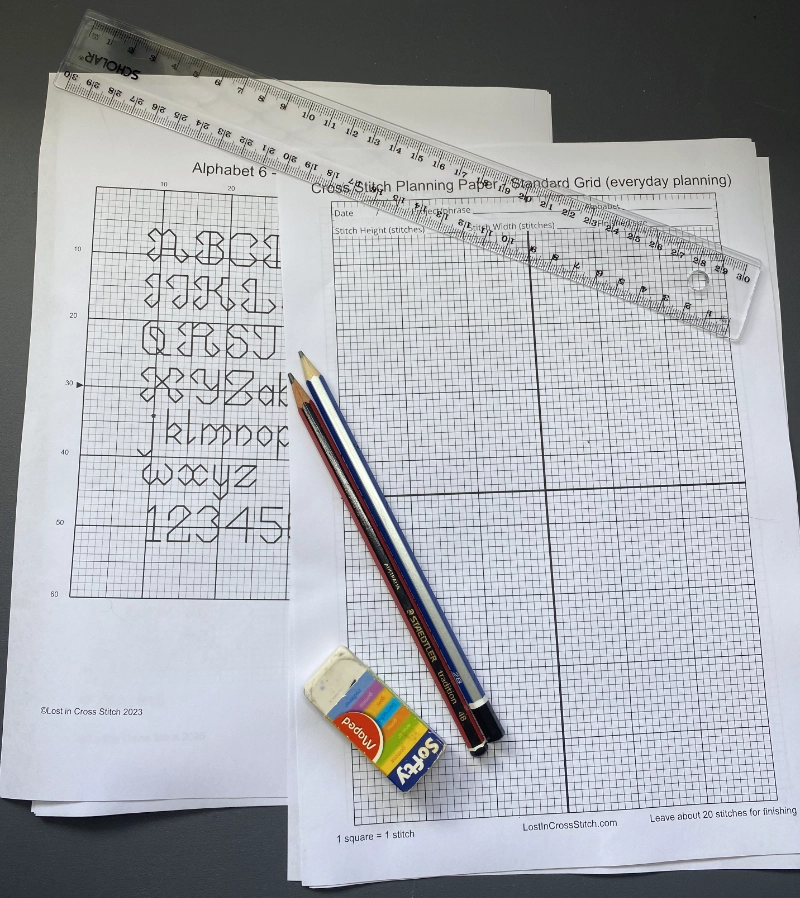
- Cross stitch planning paper (grid pages)
- Pencil and eraser
- Your alphabet chart
- Ruler (optional)
Sketch lightly first so you can erase and adjust until it looks exactly how you want it.
Printables for the paper-first step (optional)
- Free Cross Stitch Planning Starter Kit : Aida ruler + planning sheet (A4 + US Letter)
- Planning paper pack: 7 sizes with numbered margins (A4 + US Letter) in our Etsy shop.
Step-by-step
- Count the available stitches on your fabric. This is critical!
- Write your word or phrase exactly as you want it stitched (caps, punctuation, numbers).
- Draw a text box on planning paper the same stitch width you have available.
- Mark the centre of your available space. Use the center marks on our planning paper if you’re using it.
- Copy each letter from your alphabet chart into the box, in pencil, square by square.
- Add spacing as you go. Start with 1 square between letters.
- Step back and check the look.
- Erase and adjust until it feels balanced.
- Darken the final version so it’s easy to follow while you stitch.
- Stitch from your paper plan.
Once you’ve drafted the word on paper, the rest is just placing it on fabric and stitching it.
Choose the right alphabet style
Different alphabet charts stitch up very differently, so it helps to pick a style that matches your project.
Backstitch alphabets
Backstitch alphabets are “drawn” with thread, so they stay clean even when the text is small. They’re great for tiny names, labels, ornaments, ‘signing’ your work, or adding text to busy designs. They’re tidy, easy to read, and in many sizes including some that don’t take up much room.
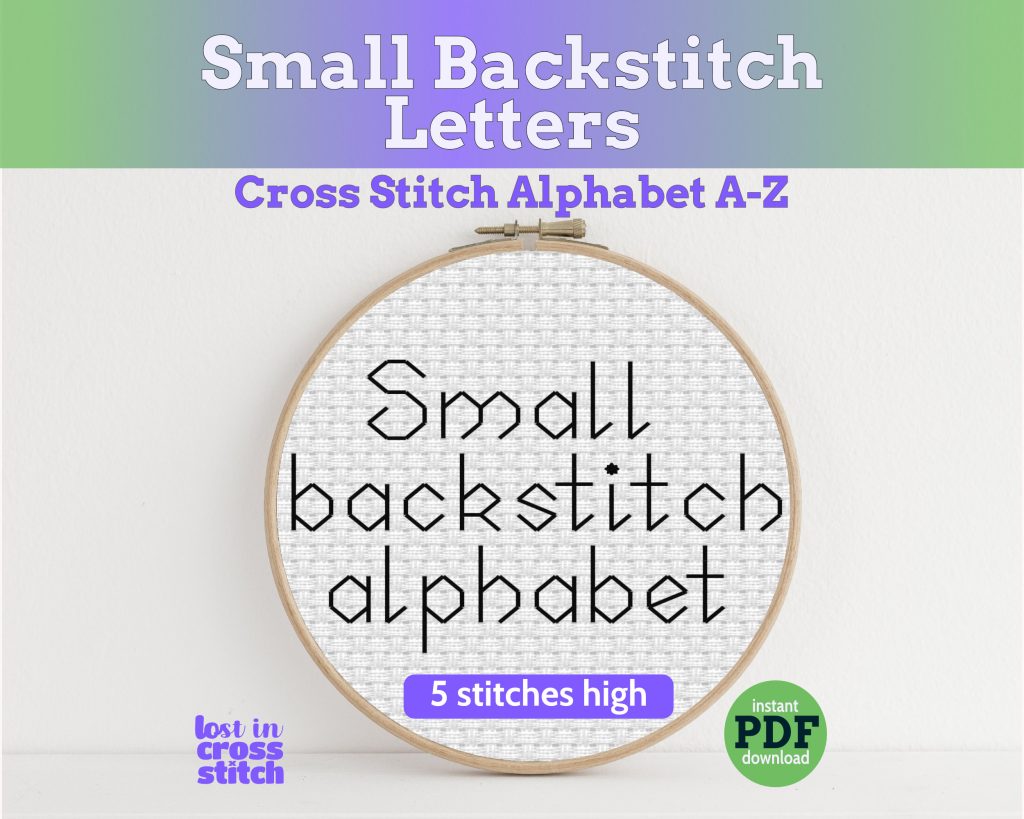
Small backstitch alphabet
Full cross stitch alphabets
These letters are built from solid blocks of crosses. Use them for big names, headings, sampler titles. They’re thicker letters, more “pixel” style because they’re made from complete cross stitches.
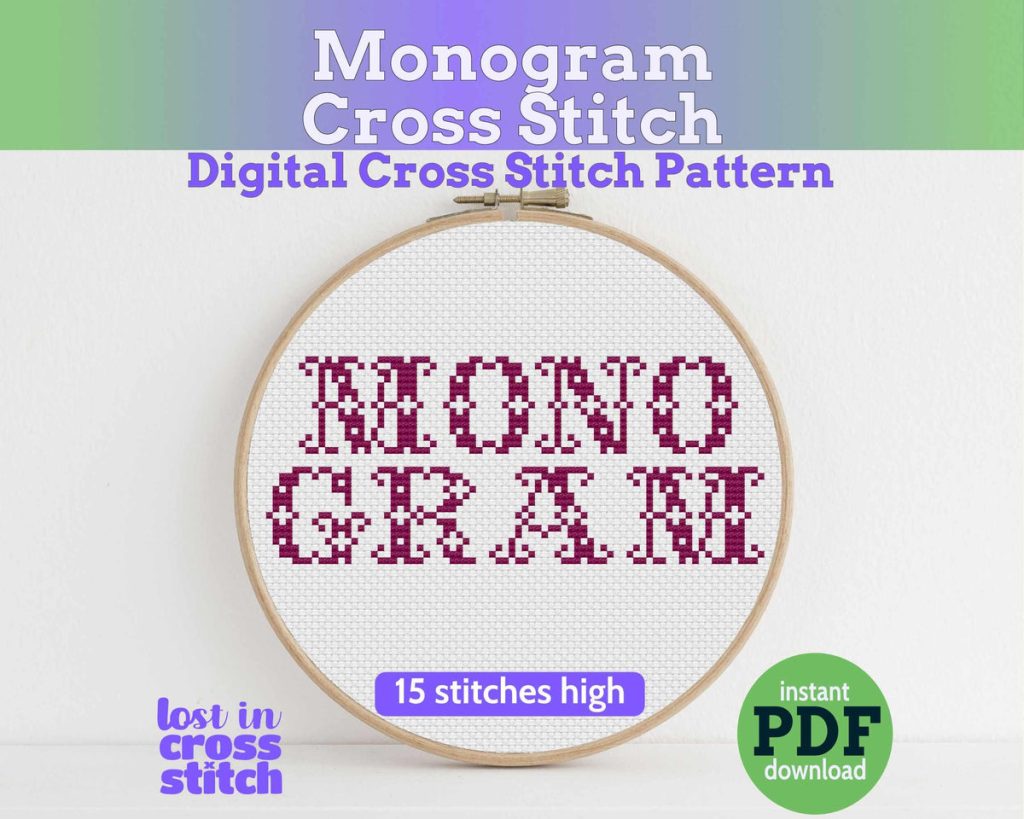
Our Fancy Upper Case alphabet pattern
Partial stitch alphabets
Some alphabets use half stitches or quarter stitches to create diagonals and curves. Use them for decorative fonts and smoother lettering. They look more refined, and take a bit more attention while stitching.
Backstitch is usual to finish the part stitch, and sometimes to outline them as well. So this style can take longer to stitch (but imo are well worth the effort).
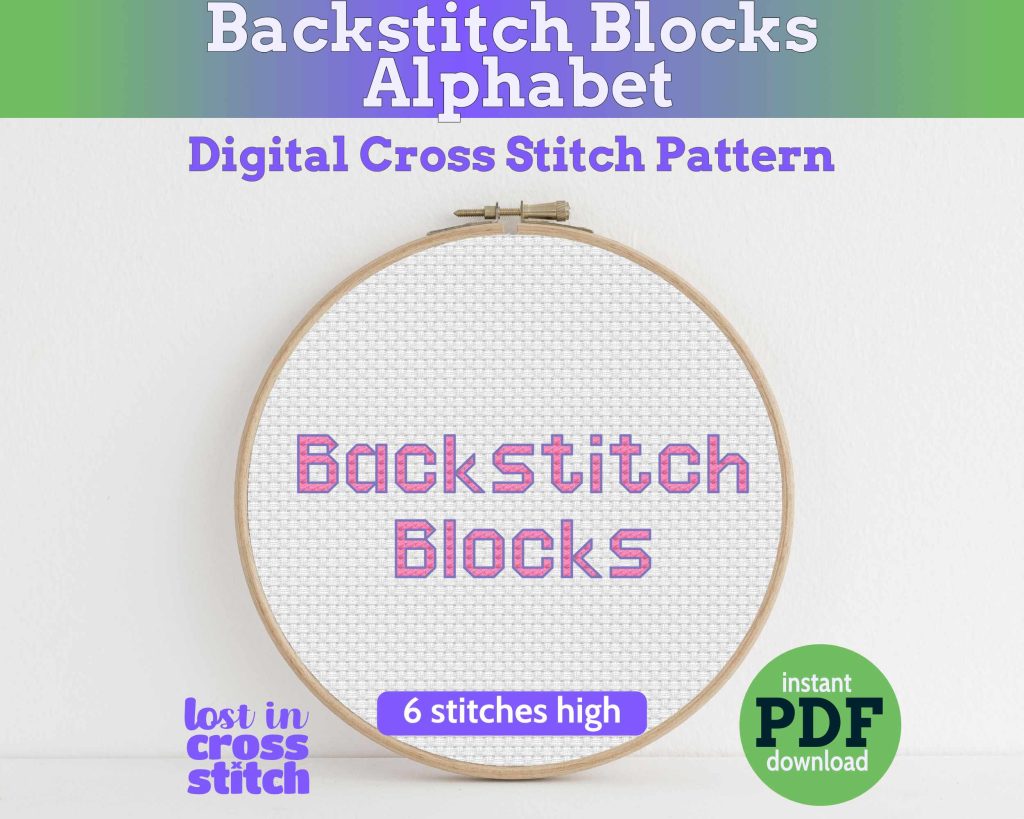
Cross plus outline alphabets
This style of alphabet is usually kind of fun!They use full cross stitches for the main letter shape, then backstitch around the edges to sharpen it up. They’re great when you want bold, colourful letters that still read clearly, even in a busy design.
They work well for names on gifts, headings on samplers, kids’ designs, and anything that needs a bit of personality without taking up heaps of space.
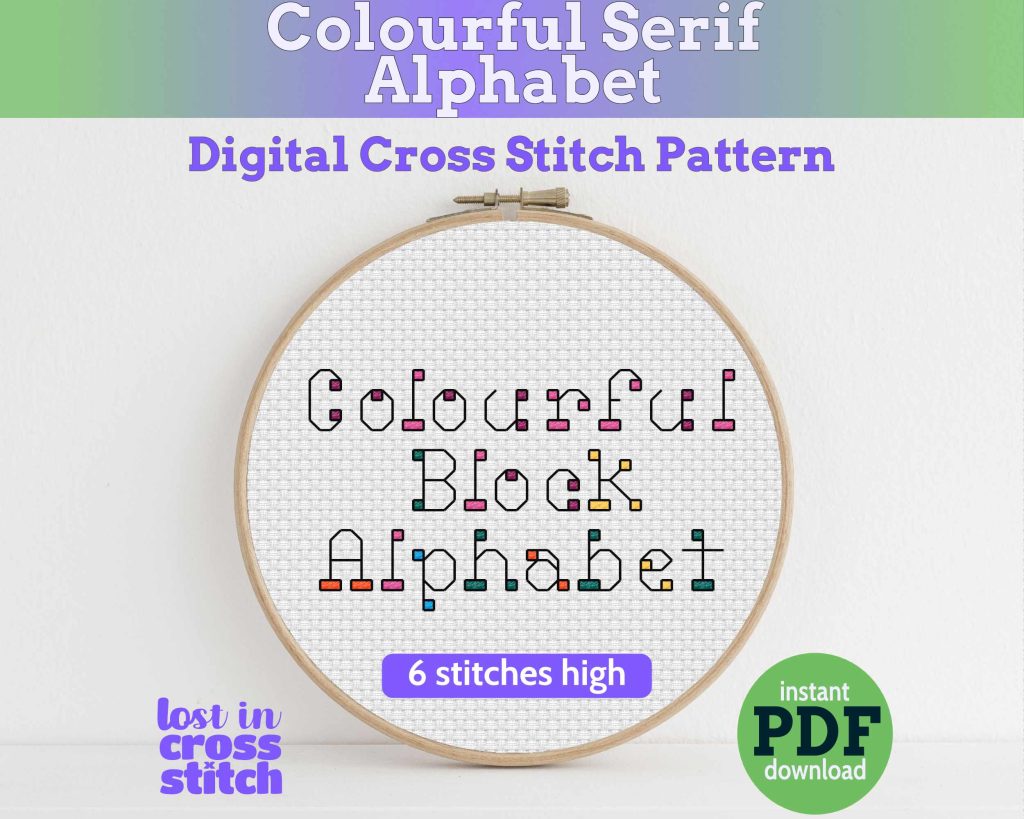
Letter spacing that looks good
Spacing can be the difference between text that looks polished and text that feels a bit “off.”
Start with a 1 stitch gap between letters, then adjust only where it needs it.
- Skinny letters (like I and J) can look better with an extra stitch of space beside them.
- Wide letters (like M and W) can often sit closer to their neighbours.
- If a word looks “broken,” one or two gaps are probably too big.
- If letters look like they’re merging, add 1 stitch between that pair.
Quick check: Hold your paper plan at arm’s length. If it reads clearly, you’re ready to stitch.
Centre your text
If you want the text centred on your fabric, do it on paper first, then place it on fabric.
- Find the centre point of your word on the paper plan.
- Mark the centre point of the area on your fabric (or the centre of the design).
- Line those two centres up.
- Start stitching at the centre, then work outwards.
This keeps everything balanced and helps you avoid running out of space.
Use a baseline so your word looks tidy
A baseline is the row your letters “sit” on. You probably want your word to be in a straight line. Pick the baseline row on your planning paper first.
On your paper plan, draw a light line across the baseline row. When you stitch, keep all letters aligned to that same bottom row.
Ideas for bigger alphabets
It can take much longer to make your own pattern with a bigger alphabet. Instead of the paper/pencil method, print/copy a few copies of the chart.
Cut out each letter you need, with a one square border.
Move each letter around on the cross stitch planning paper until you have the layout you want.
Then glue or tape them to the planning paper to create your pattern.

Stitching tips by alphabet type
Backstitch alphabets
- Keep tension even so lines stay smooth.
- Stitch backstitch after nearby crosses so it stays crisp.
Full cross stitch alphabets
- If letters feel crowded, add a little more spacing.
- Block letters often need more breathing room than you expect.
Cross plus outline alphabets
- Stitch crosses first.
- Add outlines last for the sharpest finish.
Add words to an existing pattern
This is one of the most common ways to use alphabet charts.
- Choose a clear spot with enough room for the full word.
- Draft the text using the same paper-first method above.
- Place the text in the chosen area (centered or aligned).
- Stitch the letters, then add any outlining last.
Tip: If the area is very busy with confetti stitches, your text can get lost. A backstitch alphabet often reads better in those spots.
Two lines of text (names and dates)
Two lines look best when you draft both lines before you stitch.
- Draft line 1 on planning paper.
- Leave 2 to 4 blank rows (depending on letter height).
- Draft line 2.
- Centre each line on its own, or align both to the same centre point.
Quick troubleshooting
My word is too wide
- Tighten spacing in a couple of spots
- Use a smaller alphabet
- Use backstitch alphabet for small areas
My letters look messy
- Check tension
- Move the text to a calmer area
- Add outlines last (if the alphabet has one)
My word looks crooked
- Re-check your baseline row
- Count a few letters to make sure you didn’t drift up or down while stitching
FAQ: how to use cross-stitch alphabets
How do you use cross-stitch alphabets to stitch a name?
Draft the name on planning paper first, adjust spacing in pencil, then place the word on fabric using the centre-out method.
Should I use a backstitch alphabet or a cross stitch alphabet?
Backstitch is crisp and space-saving for small text. Full cross stitch is bolder for larger names and headings. The real trick is to use what you like, and what will fit in the space you have.
Can I resize a cross stitch alphabet?
Sort of, but with limits. Most cross stitch alphabets are designed for one stitch size, so resizing usually means choosing a different alphabet that’s already the size you need.
If you try to scale letters up or down by copying them larger or smaller, the shapes can get blocky or hard to read.
A safer option is to pick a similar font in a smaller or larger chart, or swap to backstitch lettering for tiny spaces.
What if my fabric count changes the size?
The alphabet stays the same in stitches, but the finished size changes in inches or centimeters. Higher-count fabric (like 18 count) makes the letters smaller, and lower-count fabric (like 14 count) makes them bigger.
If you’re trying to fit a name into a specific space, count how many stitches you have available on the fabric, then plan the word in stitches on paper to confirm it will fit.
Summary of the paper-first method
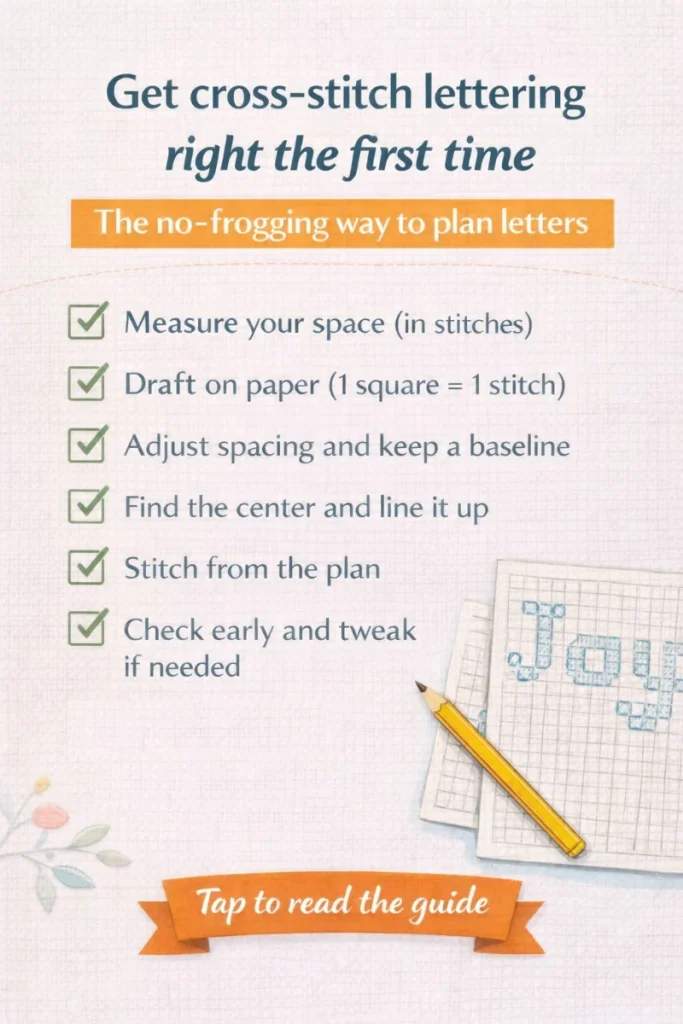
- Pick an alphabet style that suits your project (solid stitches, outline/backstitch, or a mix).
- Measure the space you’ve got in stitches.
- Draft your word or motif on planning paper (1 square = 1 stitch).
- Tweak spacing and keep letters sitting on the same baseline.
- Find the center point and line it up on your fabric before you start.
- Stitch from your plan and do a quick check early so you can adjust if needed.



Leave a Reply